Creating Custom Test Scripts
In the case of specialized or point check tests, users can create their own test sequences interacting with laboratory hardware and DER EUTs.
Description
The scripting tool allows the user to run and create scripts. Creating a custom script involves using the UI to define a sequence of operations to be performed on one or multiple supported lab devices. With custom scripts, the user can create tests designed for their unique situation offering flexibility and control.
Navigate to the scripting tool
To create a custom script, you first need to navigate to the scripting tool in the home menu by selecting
Automation -> Scripts.
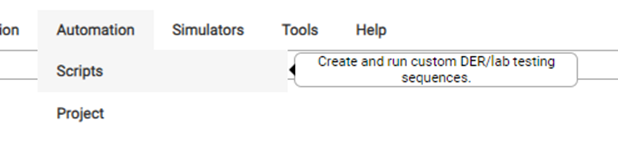
The scripting tool page will open.
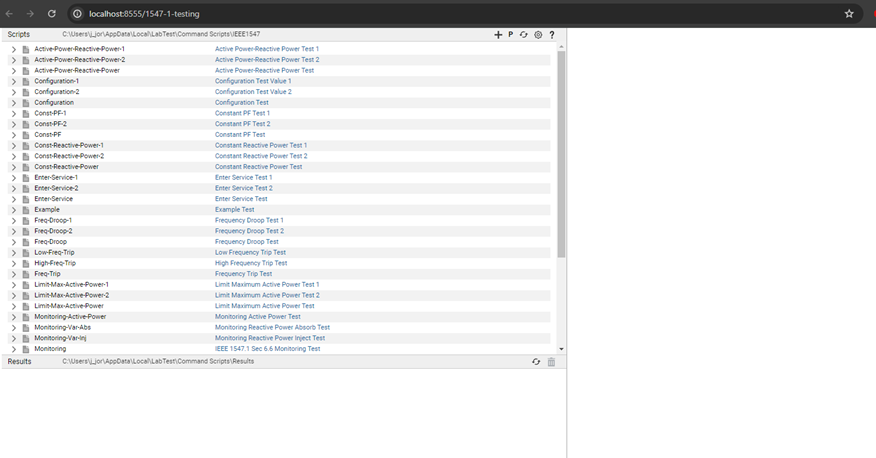
Viewing a script
To select a script click its name from the list of available scripts. Click the arrow icon at the left of the script’s name to expand the script’s content:

Scripts are usually composed of other scripts, target definitions, or target operations. In this example the first command is running a script named “Targets” as indicated by the label “SCRIPT”; by clicking on the arrow icon at the left of the label you can see the commands of that script:

In this example, the script "Targets" consists of one target definition as indicated by the label TARGET.
The target definition allows running target operations of the selected target type. In this example, the target
uses the SunSpec Modbus interface, so this target definition allows running operations on devices compatible with
SunSpec Modbus. In this example DER is the name given to the target configured with the target definition. The
next commands after the SCRIPT command are target operations available to the DER target.
Running a script
To run a script first select it from the list of available scripts. For example, to run the
built-in script Active-Power-Reactive-Power-1 select it from the list:

Click on the green arrow icon at the rightmost part of the selection to run the script, this is the result with the der simulator running with default settings:

Adding/ Removing Commands
Select a command and click on the red “X” icon to remove that command. Click on the plus sign icon to add a command. When adding a command you will see this new line:

The first field is the target of the operation, available targets had to be defined in a preceding target definition command. If the command is not a target operation, this field is empty. The second field is the command type. “SCRIPT” commands run a specified script. “TARGET” commands are target definitions. Target operations are commands defined by a target definition. The third field represents the parameters for the command. A description can be added for the command in the fourth field. Click the green check to save the command or the red “X” to discard it.
Editing a Script/ Command
After selecting a script click on the pencil icon in the rightmost part of the selection to edit the script:

Now you can change the name or description of the script. Similarly, to edit commands click the command and click the pencil icon at the rightmost part of the selection.
Some commands require the configuration of parameters. In the script named “Targets”, the target definition needs to be configured to connect to the desired target. Click on the “TARGET” command under the “Targets” script to see its configuration options:


Clicking the pencil button allows for modifying these parameters.
Creating a Script
To create a new script, click the plus icon at the top-right of the scripts list. After clicking the icon, a new item will be added to the scripts list with a text prompt to input the name of the new script:

Once you have entered a name you can click the green check at the right of the selection to save the script. Commands can now be added, edited, and removed from the new script. Click the red “X” to discard the new script.