Automation - Projects Details
The Project menu allows a user to create a new project or open an existing one.
Create Project
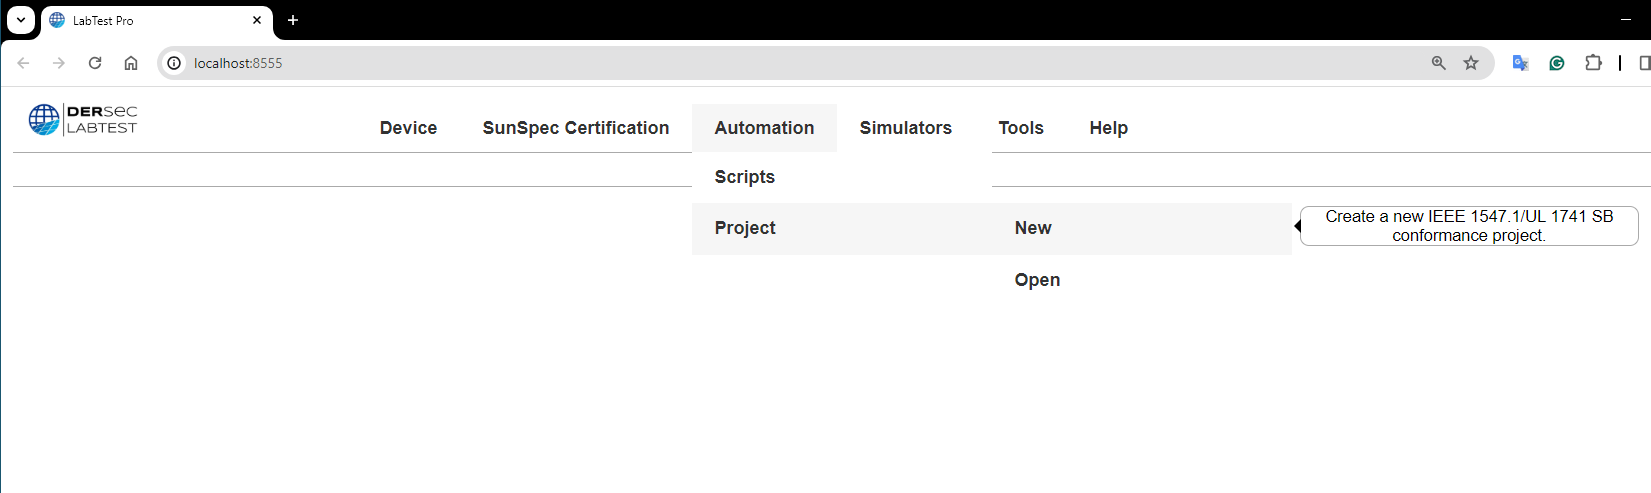
Clicking Project → New will create a new project. Items marked with a red asterisk are required.
Please fill in the information:
- Project Path – Path to the where the new project folder will reside
- Lab Configuration File – Path to a previously downloaded configuration file
- Project Directory Name – Name to use for the project folder
- Project Label - Text at the top of the project to track multiple projects.
- Project Description – Optional details about this project.
- Test Types:
- IEEE 1547.1 Clause 5 and 6 – Type testing compliant with the standard using communications to DAS, DC/AC simulators, and EUTs.
- UL 1741 SB Tests – directly references UL 1741 SB.
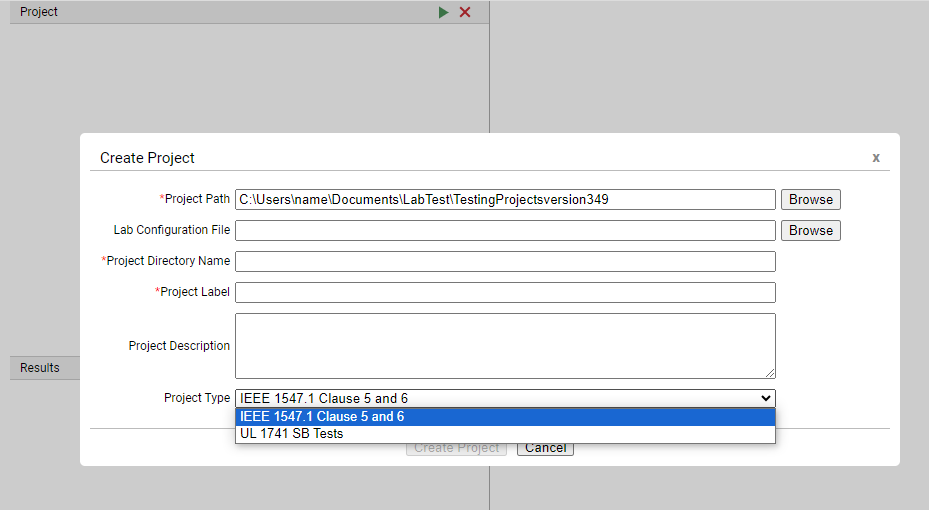
Note: current implementation does not support cloud drives such as Microsoft OneDrive or Google Drive.
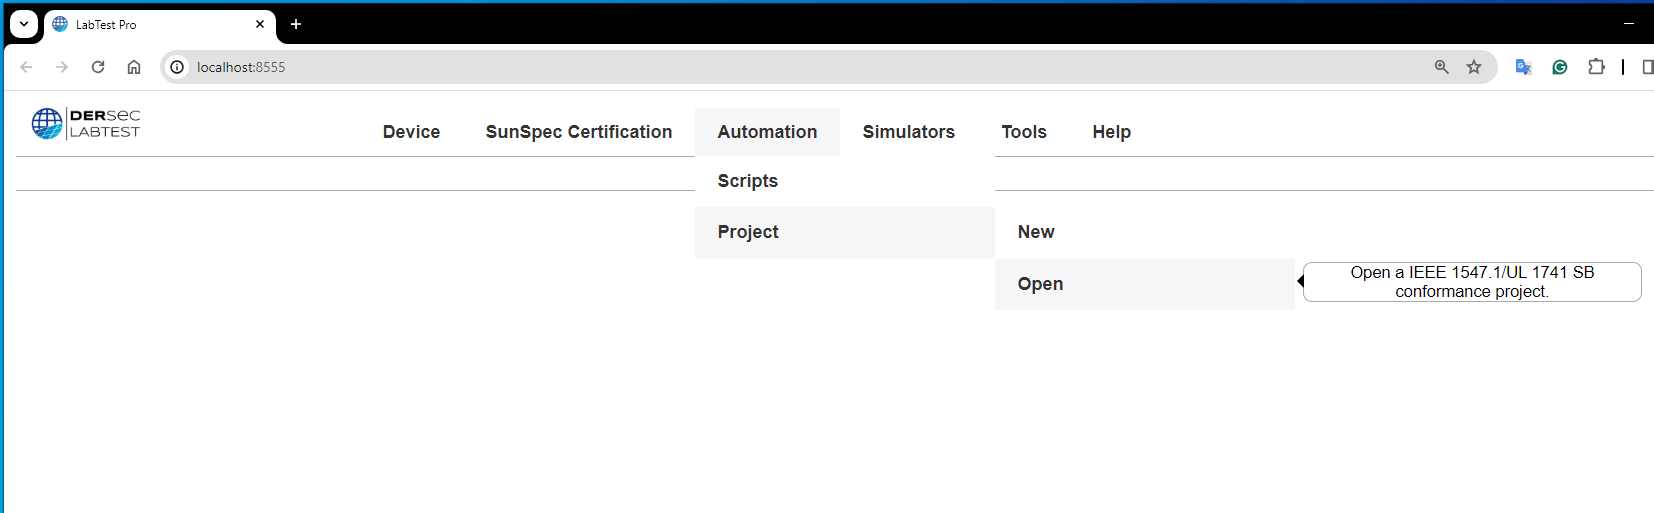
Once a project has been created. Automation → Project → Open will allow the user to open a previously
created project. It is recommended to click the “Browse” button to traverse through the local drive to
where your project is and click “Select” to use that project.
Project Settings
Under the Project settings on the right side of the project tab, there is a section called Lab Configuration. This consists of five interfaces that are required to run the tests. For each interface, the DER Simulator has a simulation that supports a type of said interface. These interfaces are:
- Data Acquisition System (DAQ): The simulator simulates a Yokogawa PX/WT/PZ DAQ.
- DER Interface: There are simulations for SunSpec Modbus, IEEE 2030.5, and DNP3. The test scripts are protocol independent. So, changing the interface doesn't require any change in the project/tests.
- AC Simulator: The simulator simulates the Ametek AC simulator.
- DC Simulator: The simulator simulates the TerraSAS AC simulator.
- Results Processing: This is a built-in driver and doesn't need to be updated.
In addition to the simulations for all these interfaces, there is support for other drivers as well. For example, for DAQ, the tool supports Yokogawa PX/WT/PZ, Yokogawa DL, Chroma, Tektronics, and more. In case a driver for a device doesn't exist, please contact DERSecurity to request addition of new drivers.
Below the lab configuration, there is the section of DER Parameters. These are the DUT's nameplate settings along with some other parameters needed to run the tests. The parameters must be correctly filled by the user to ensure correct testing. All the parameters are defined in the IEEE 1547.1-2020 for reference.
Once the settings are in place for the DUT, the settings can be saved using the download button. This file can later be uploaded to a new project or sent to a colleague to upload in their project. This helps avoid re-entering the same information over and over.

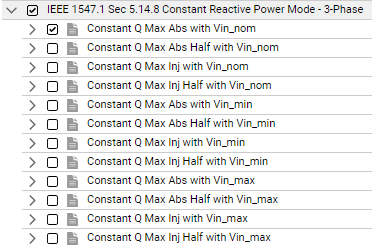
Each test is a suite containing sub-tests that meet all the test requirements mentioned in IEEE 1547.1-2020. For instance, the test for constant reactive power differs for a single-phase vs a three-phase device. In addition, the test must be repeated for different reactive power settings and DC input voltages. So, the test for Constant Reactive Power (3-Phase) includes sub tests based on these variations. For compliance, every test must be run and passed.
When running a test, the test script appears on the right side of the screen with the steps listed. The green dot implies a step has run successfully. Each test script has wait times in compliance with the standard. During conformance testing, all these wait times must be implemented. However, during the development phase, these can be individually skipped by clicking Continue from Wait to save time.
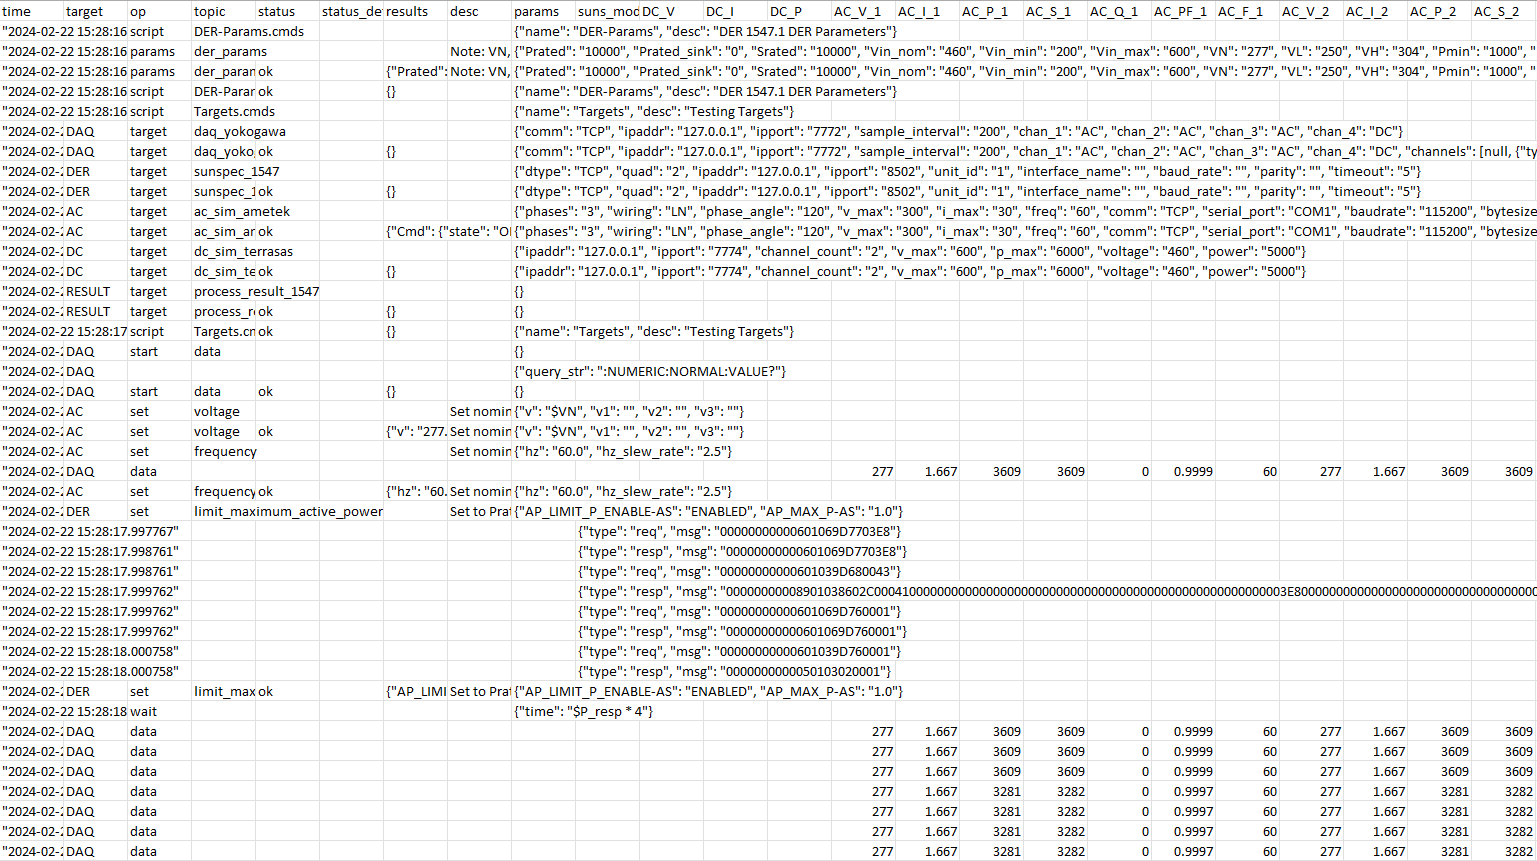
The bottom right displays the logs from the test. These contain the timestamp, log level, and the message. These logs can be read in detail once the test is completed.

Results
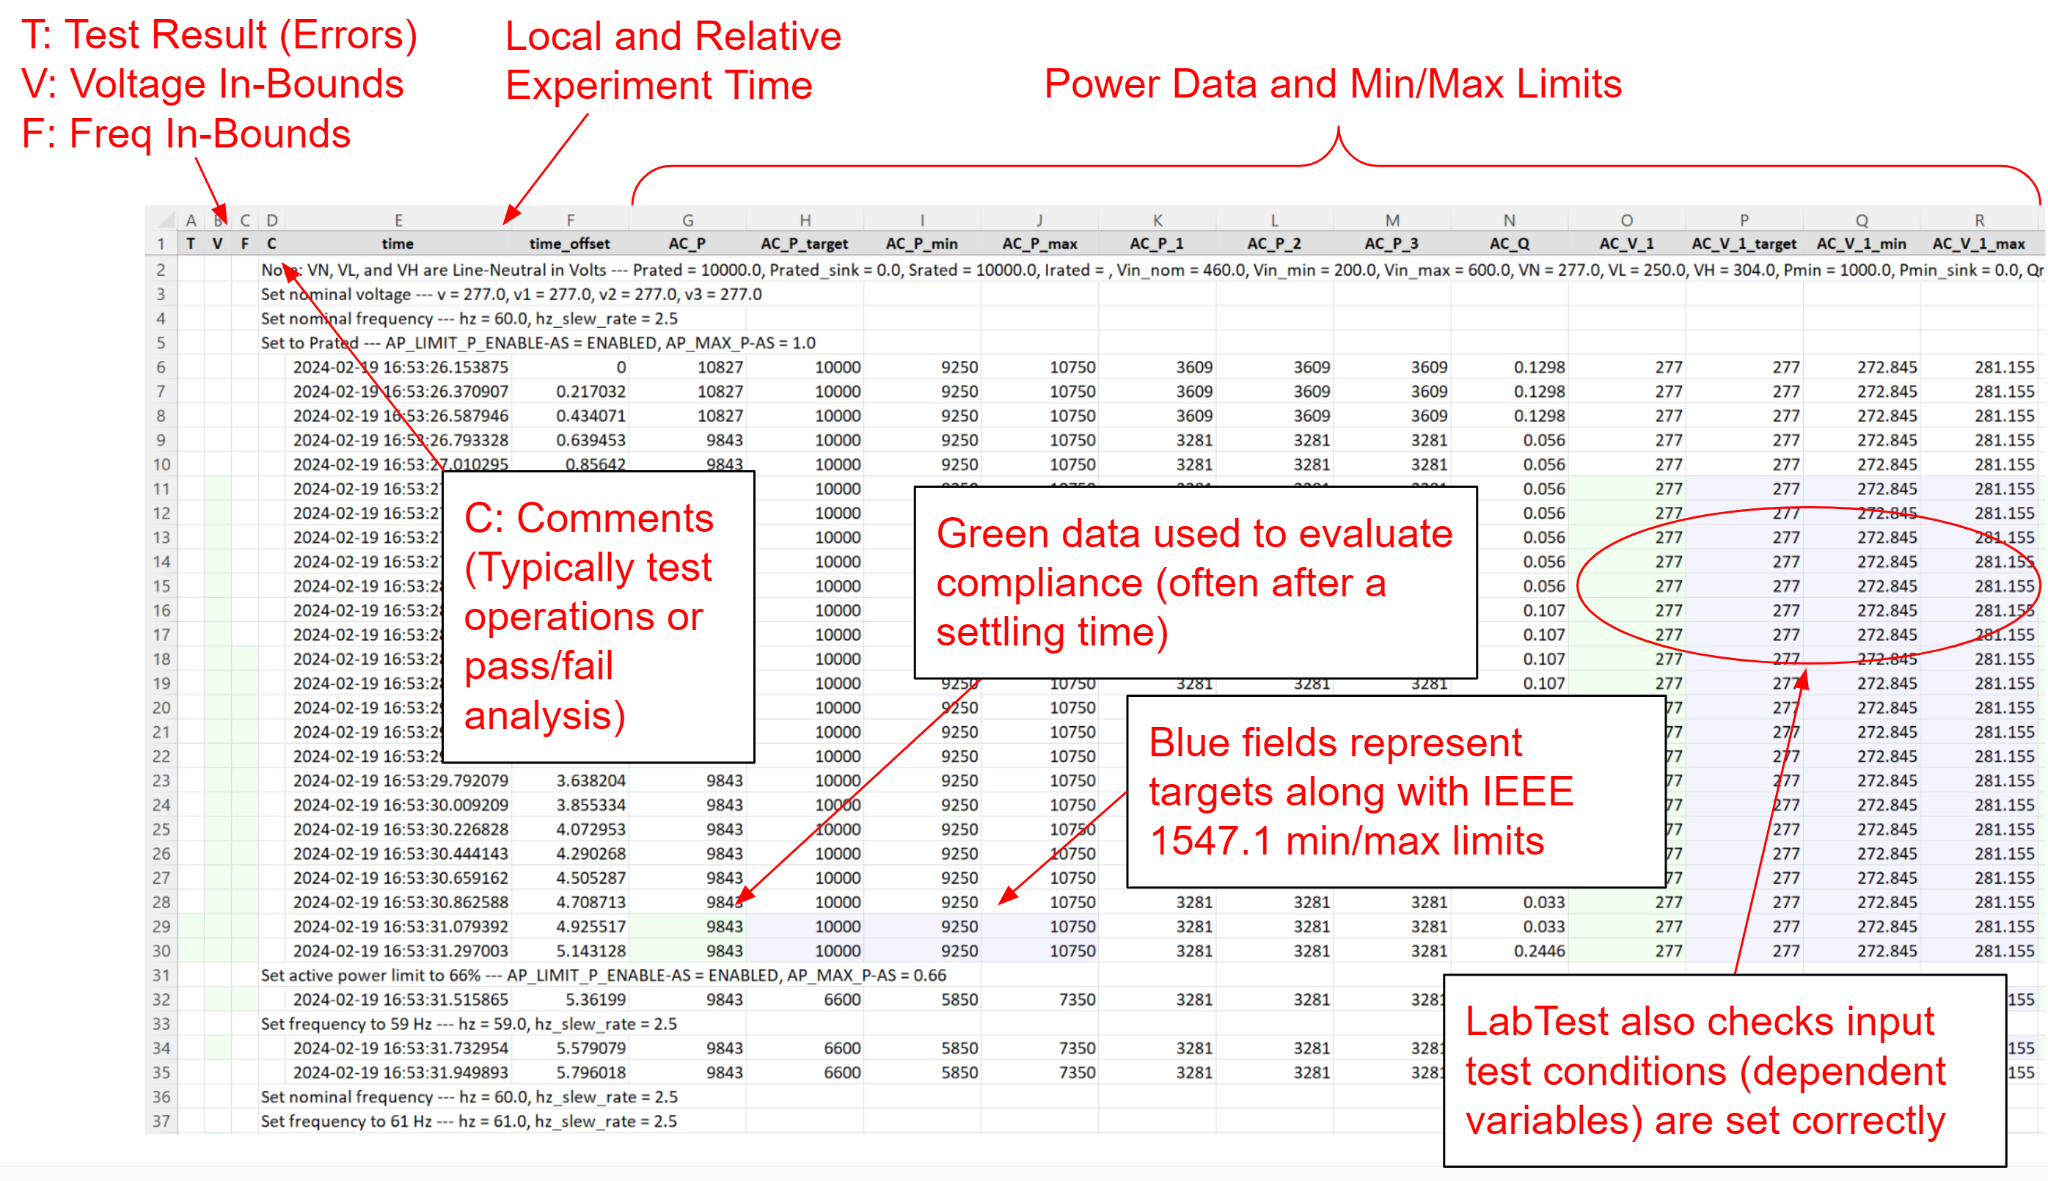
Once the tests have completed, the results show up on the bottom left of the screen. The results can be expanded to see the test logs. For more detailed results and the data stored by DAQ during the test, the green R next to the Result name can be clicked. This opens an MS Excel file which consists of the data log which is the raw logs collected through out the test.
The other tab is the Result Data. This contains all the information collected from the DAQ and evaluates it against the expected values. The color coded cells point the tester's attention to the data that needs to be evaulated.